

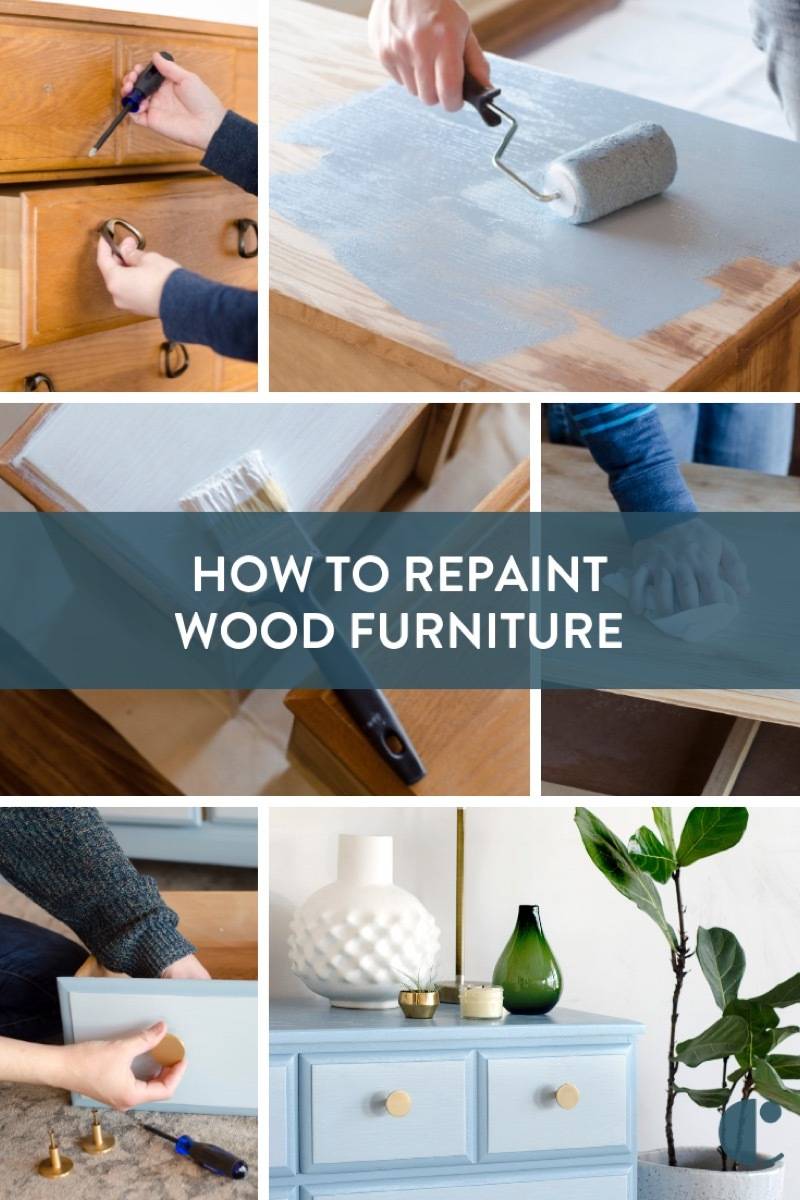
How To Refinish A Dresser With Paint
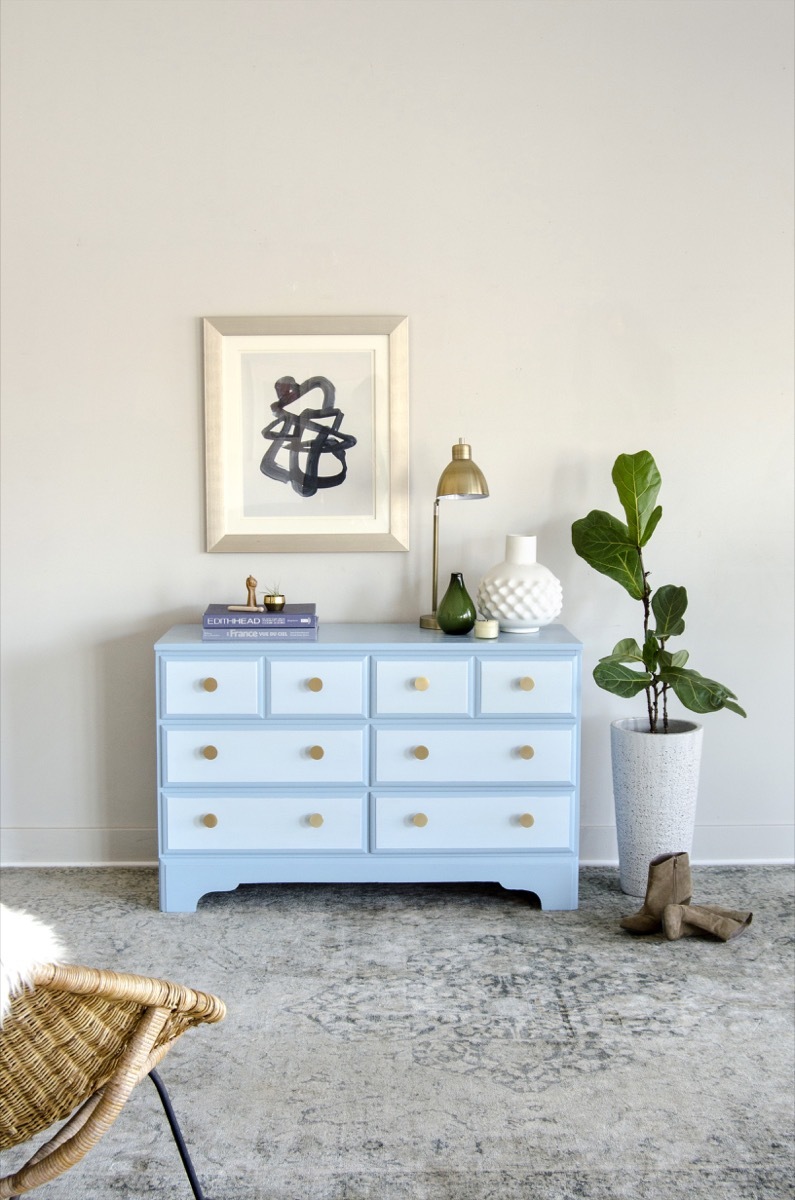
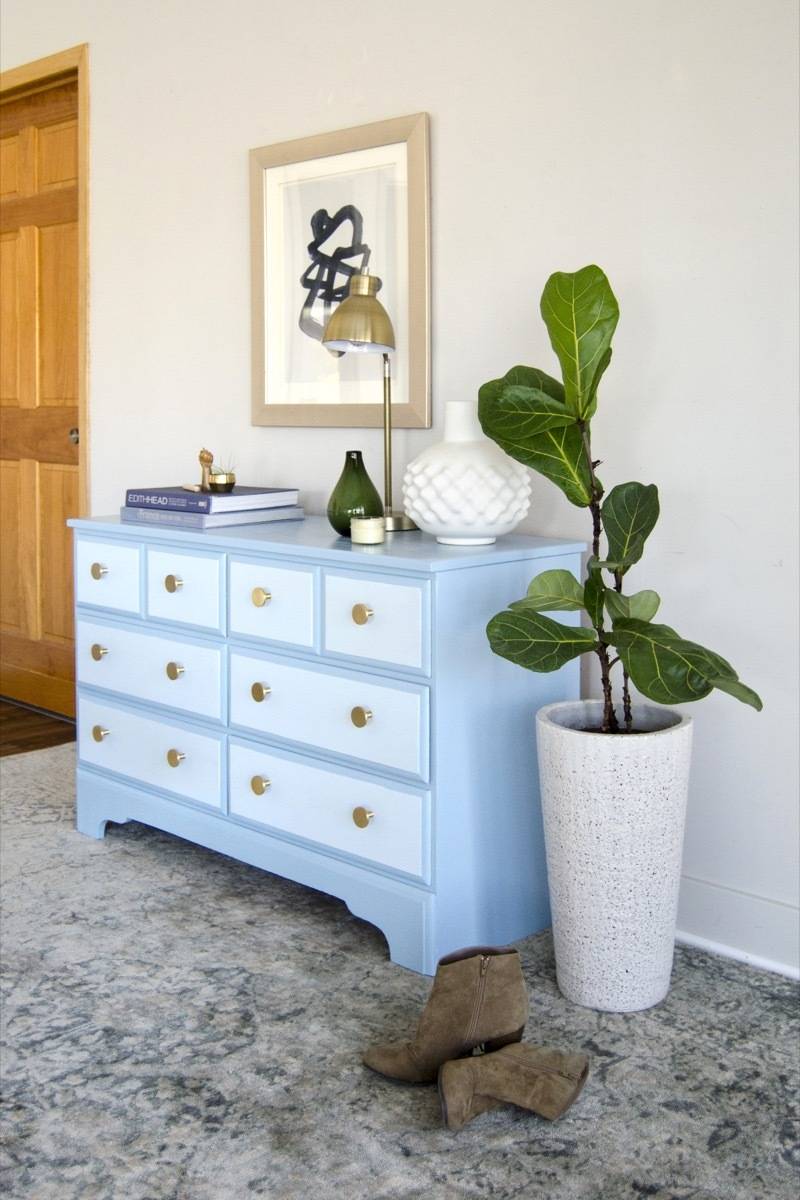
Set up for a fun before-and-later project? A boring Craigslist dresser is transformed into a vision of blue beauty, in just x steps! There is a right style to to achieve a dandy cease on a painted dresser, and at that place is certainly a incorrect fashion, besides. Sure, you could only slap on a coat of paint and phone call it a day, simply impatience and rushing through the repainting process means sloppy results. Withal, nosotros're here to share our careful footstep-past-step process, and to brand certain you lot go it right the first time around so your Craigslist finds tin smooth! 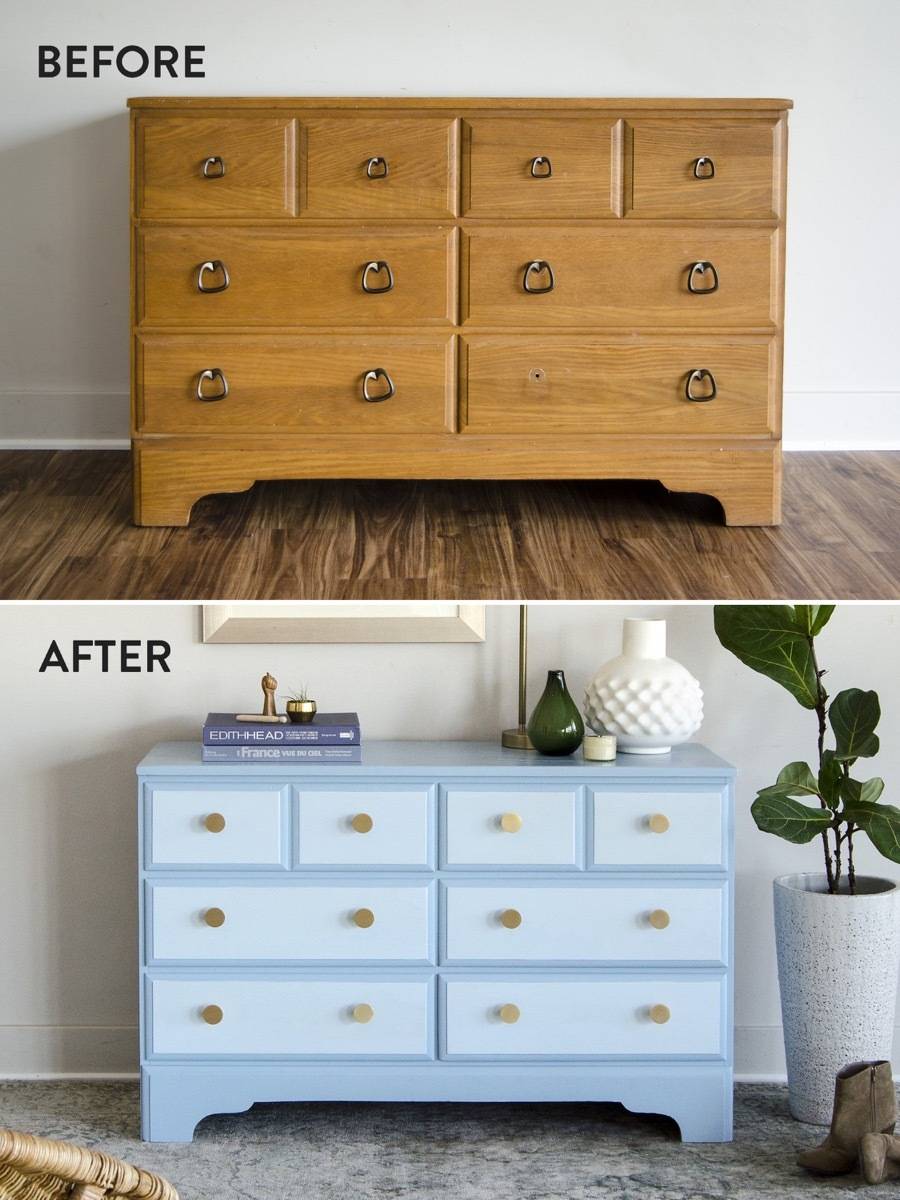
Impatience when you lot're repainting a dresser can atomic number 82 to some "don't wait as well close" paint jobs. If you are starting your next trash-to-treasure projection and desire it to last for years to come, then yous've come to the right place. Refinish your painted dresser or wood furniture in a way you can be proud of!
Lookout man the video beneath to see how to repaint a dresser, and continue reading for all the details.
Repainting painted furniture or previously varnished article of furniture, every bit with paint tile floors, isn't equally easy as it sounds. Showtime of all, yous may be dealing with someone else's poor chore, or you may have to do more than prep work than you'd similar to practice in order to get the surface up to snuff. However, if you take the time to practise the chore right, you'll love the results of your ain painted dresser for years to come up.
Step
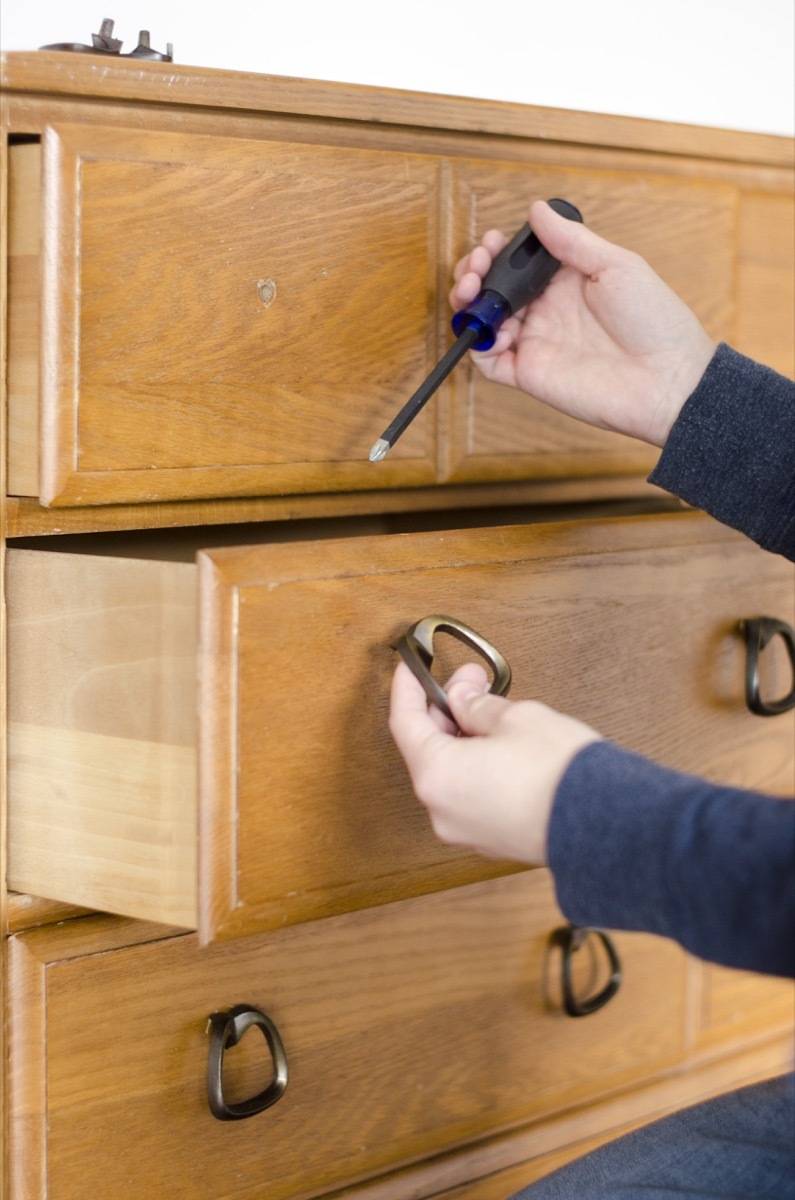
Beginning, remove all the hardware, and pull out the drawers. Set your hardware bated if you lot plan on reusing it. Sadly, I couldn't reuse the hardware on this dresser, because 1 knob was missing! I'll certainly be saving them for a future project, though.
Step
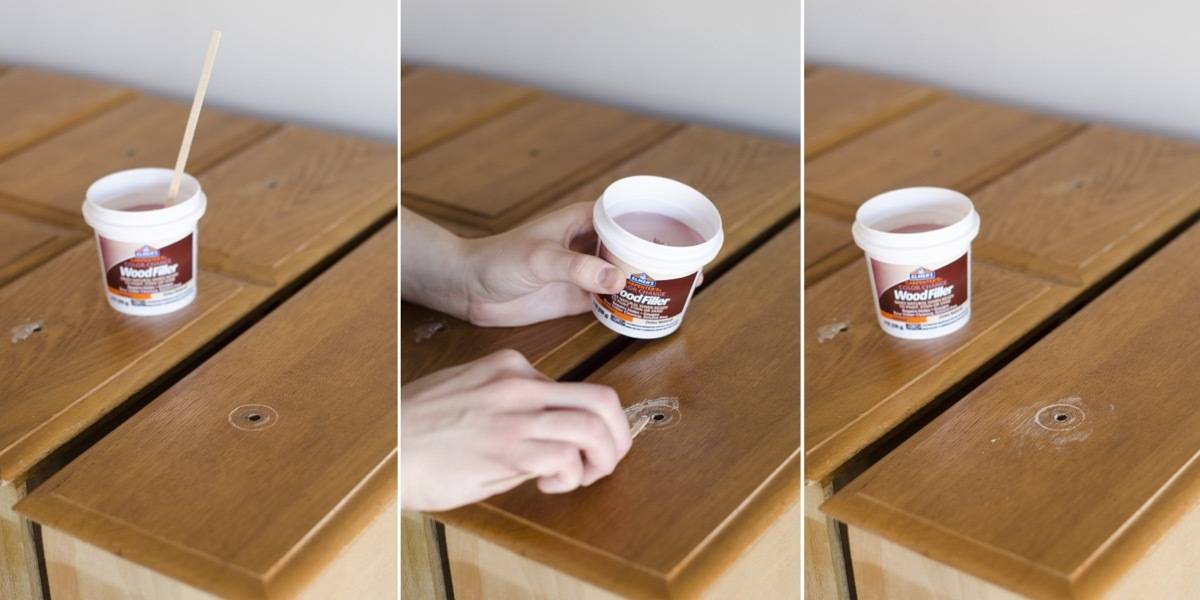
Next, fill in any holes and cracks with forest filler. You lot ever want to overfill your wood filler, and sand it down after it dries. If you want to change the hardware on your painted dresser in a way that will require you to drill new holes (i.east. moving from a one-mail knob to a two-post knob), you'll likewise desire to make full the knob holes with wood filler. When filling deep areas similar this, work in layers, allowing the wood filler to dry before adding another layer.
Footstep
If there is whatever splitting veneer or split forest, now is the time to repair with wood mucilage and clamps.
Step
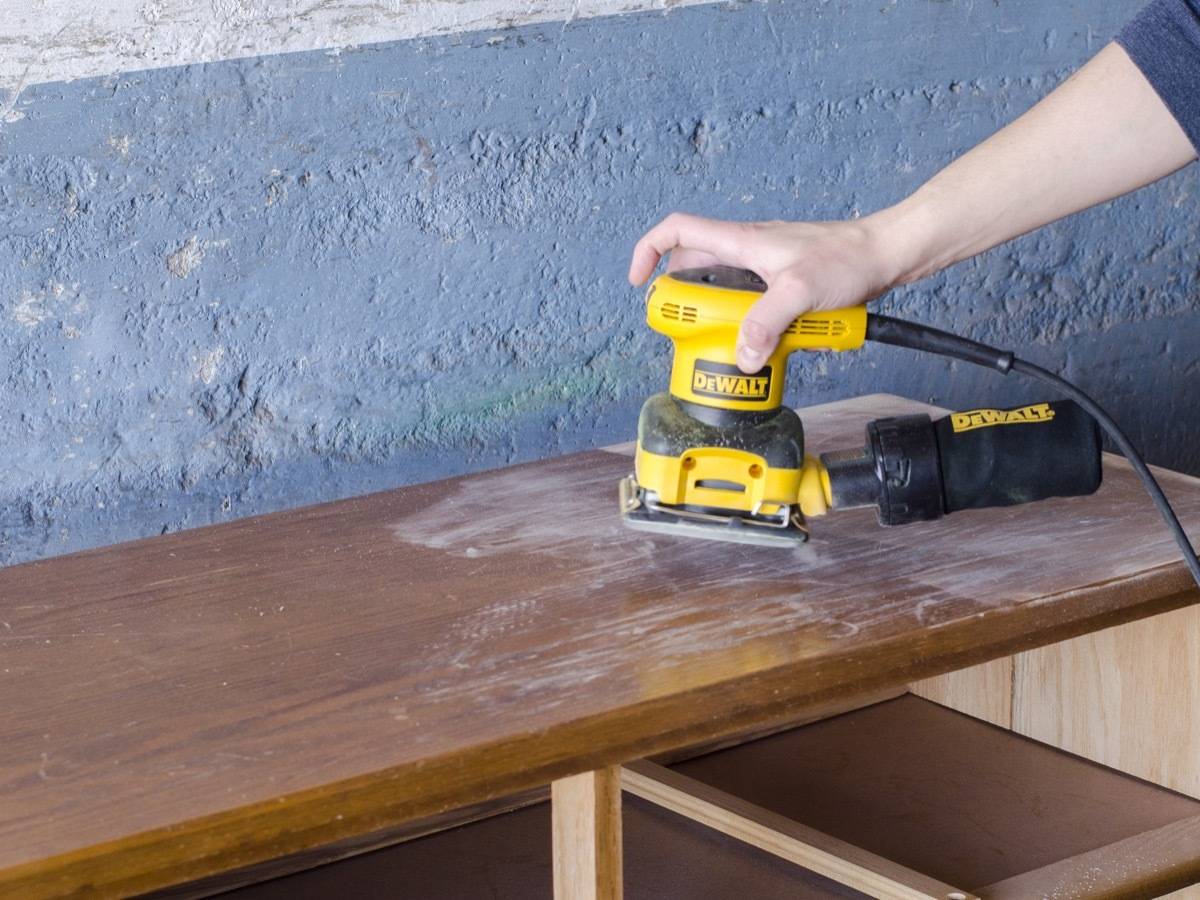
It's time to get dusty! Sand down all repaired surfaces, plus whatever scratches or dings that need buffed out. If you're painting over painted furniture, make certain to sand down whatever drips from the previous paint job. I recommend lightly sanding the unabridged piece of furniture, every bit it will assist the new paint stick. Employ sandpaper betwixt a 120 and at least 220 dust.
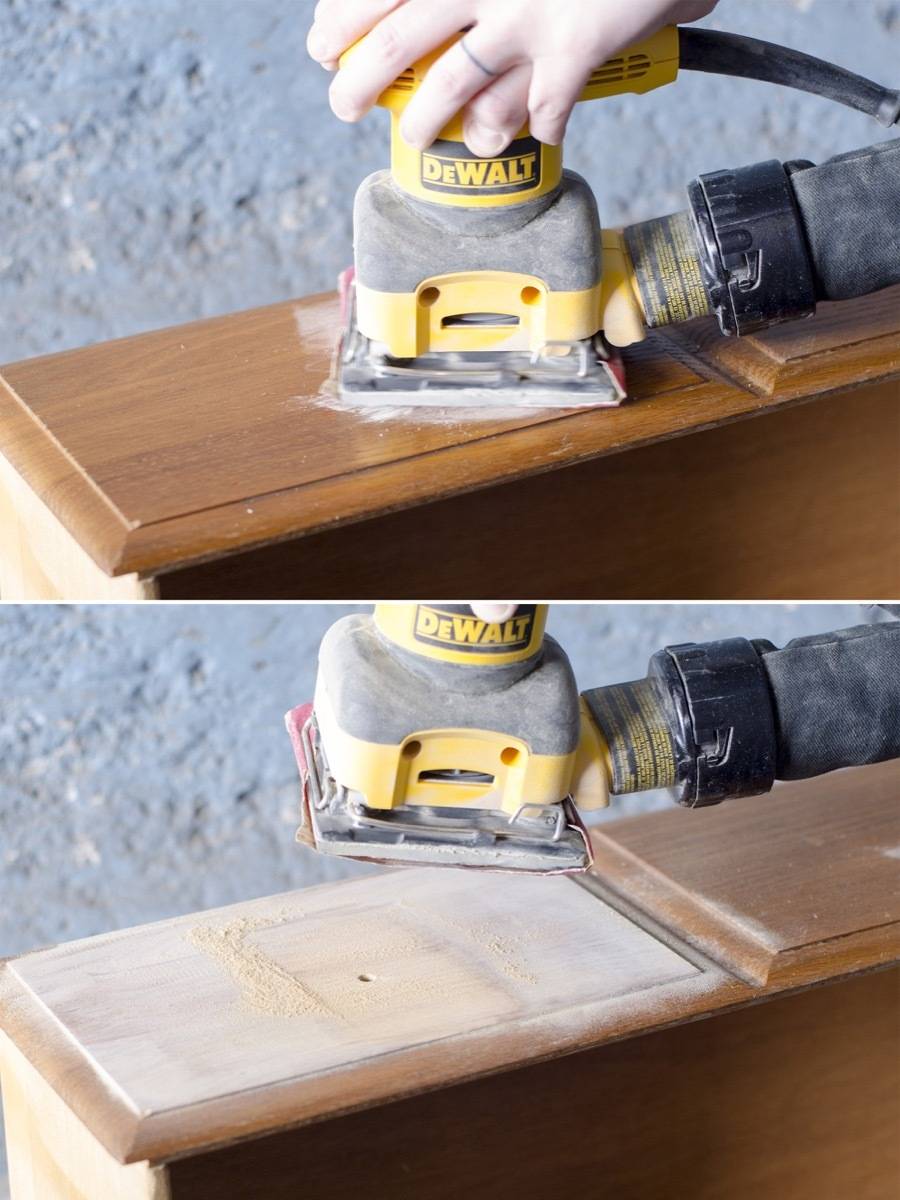
Use an electric sander for large surfaces if you tin can, and vitrify out intricate areas by mitt.
Step
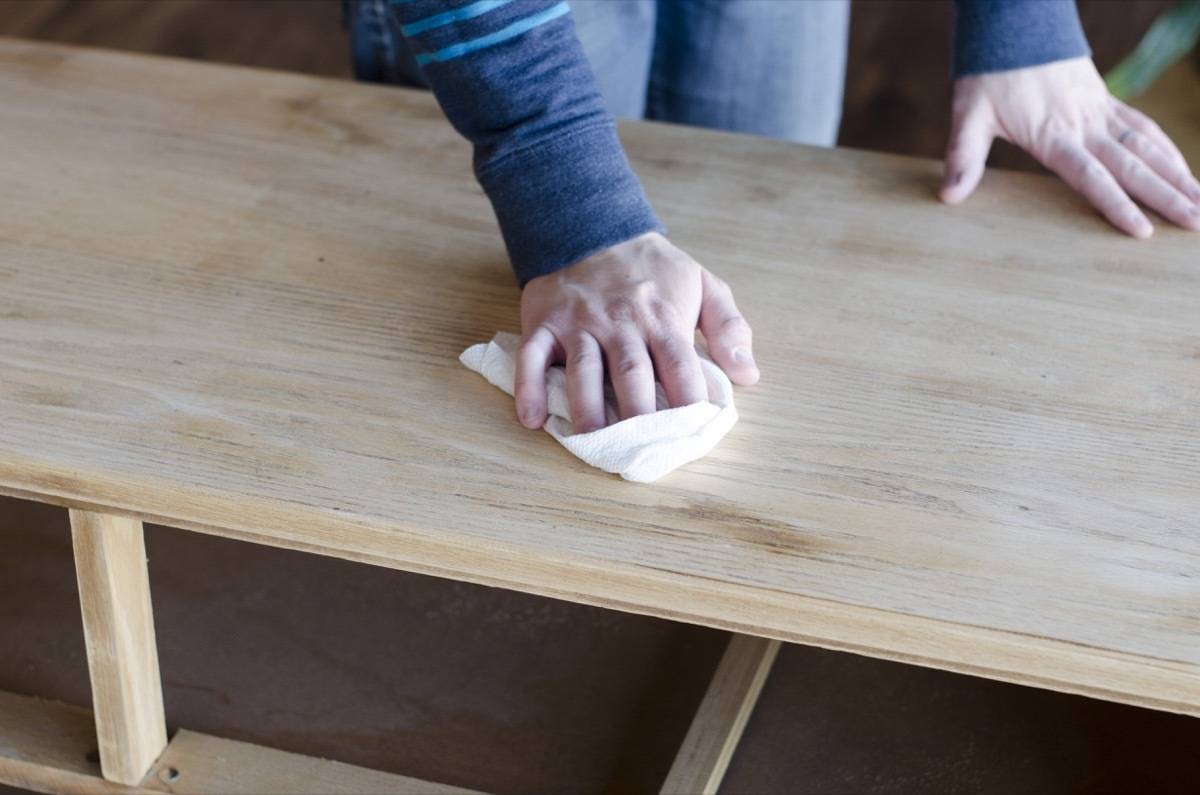
Remove all grit from your wood article of furniture slice using a damp rag. To achieve an actress smooth painted finish, it'southward wise to paint your article of furniture in a room other than the one yous sanded in, or to look a day for the grit in the air to settle.
Depending on the pigment you employ and how durable you lot want your painted article of furniture to exist, you may want to prime your wood before you move on to the next step. We recommend using two coats of an oil-based primer, applying with a small foam roller, and sanding between each glaze.
Step
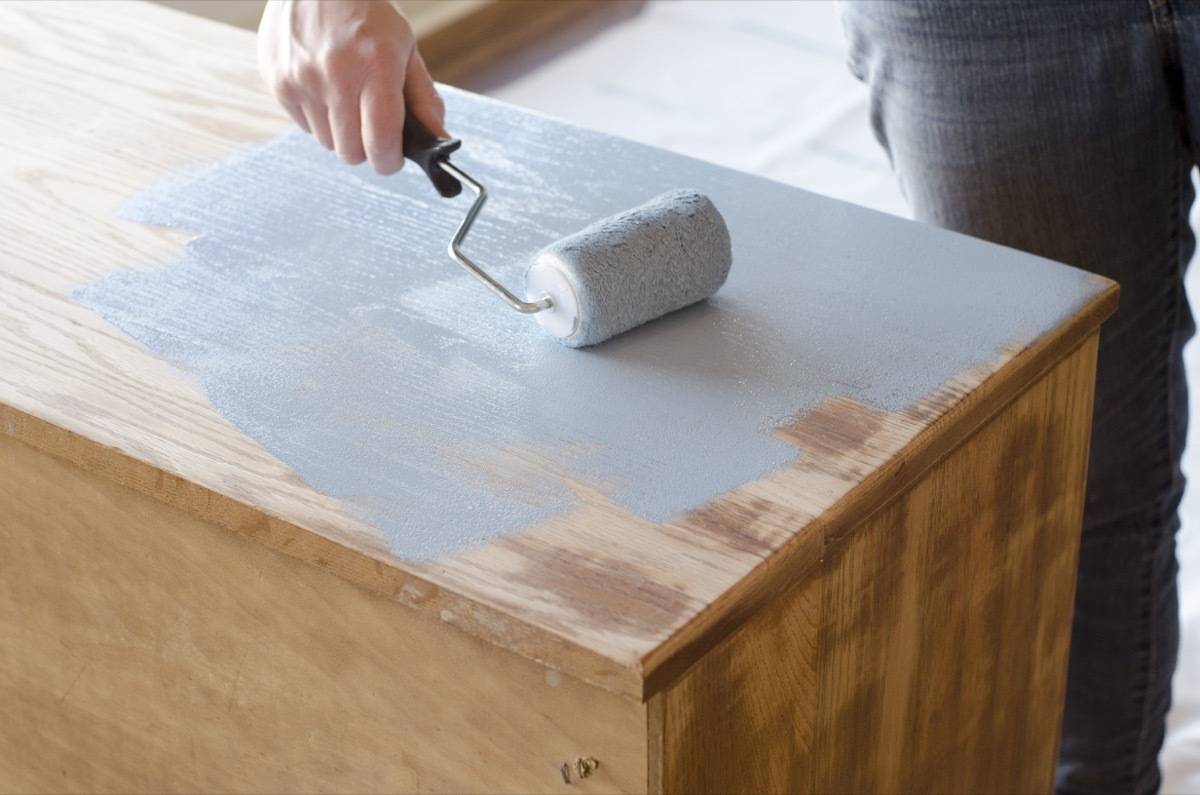
It's finally painting time! Apply a pinnacle coat to big areas with a smoothen cream roller brush, and cutting into thinner or detailed areas with an angled castor. I'm using Behr's alkyd semi-gloss in Sydney Harbour for the body, and Rain Trip the light fantastic toe for the faces of the drawers.
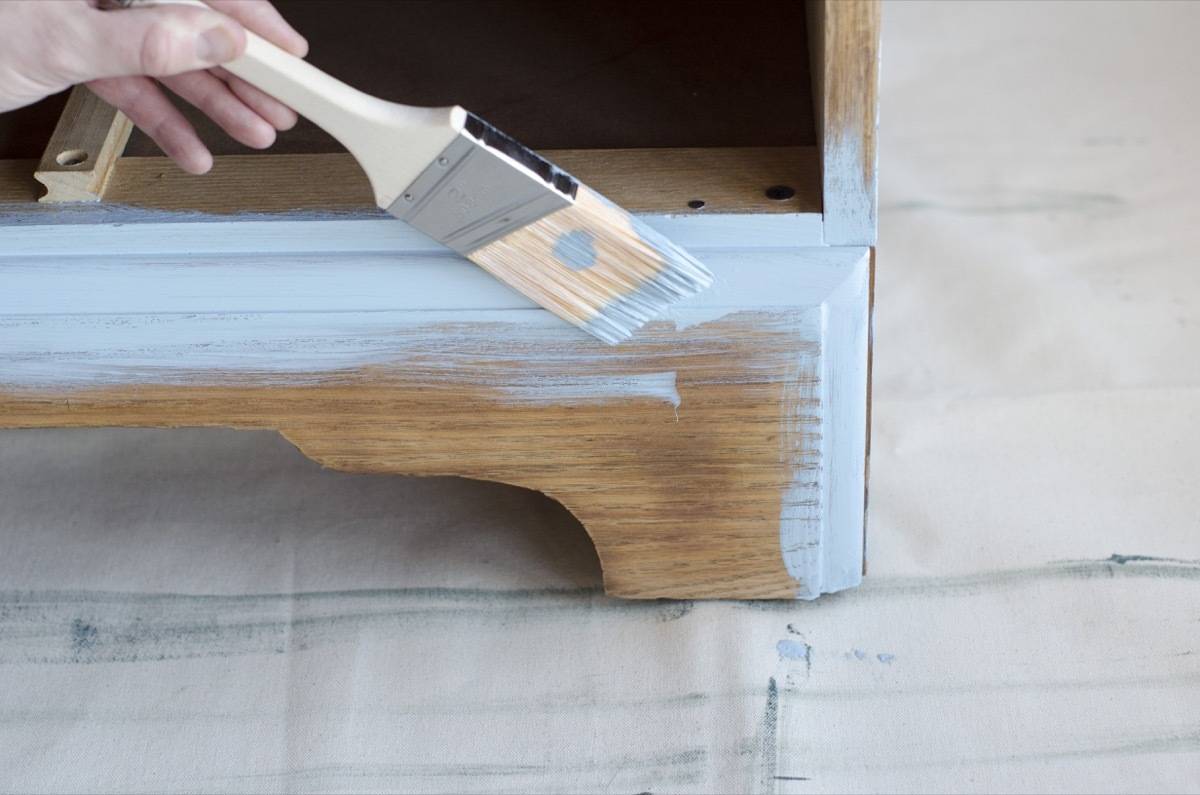
If y'all've practical a primer, chances are you won't need a 2d glaze. If, like me, you opted to skip the primer stride, apply a second coat, giving your painted article of furniture a light sanding in between layers.
Permit your painted dresser dry, preferably overnight.
Step
If you're irresolute the layout of your hardware – i.e., switching from single-post knobs to double-post knobs – now is the time to marking and drill new knob holes.
Footstep
To thoroughly protect your newly painted furniture, apply a coat of wipe-on polyurethane using a clean rag.
Footstep
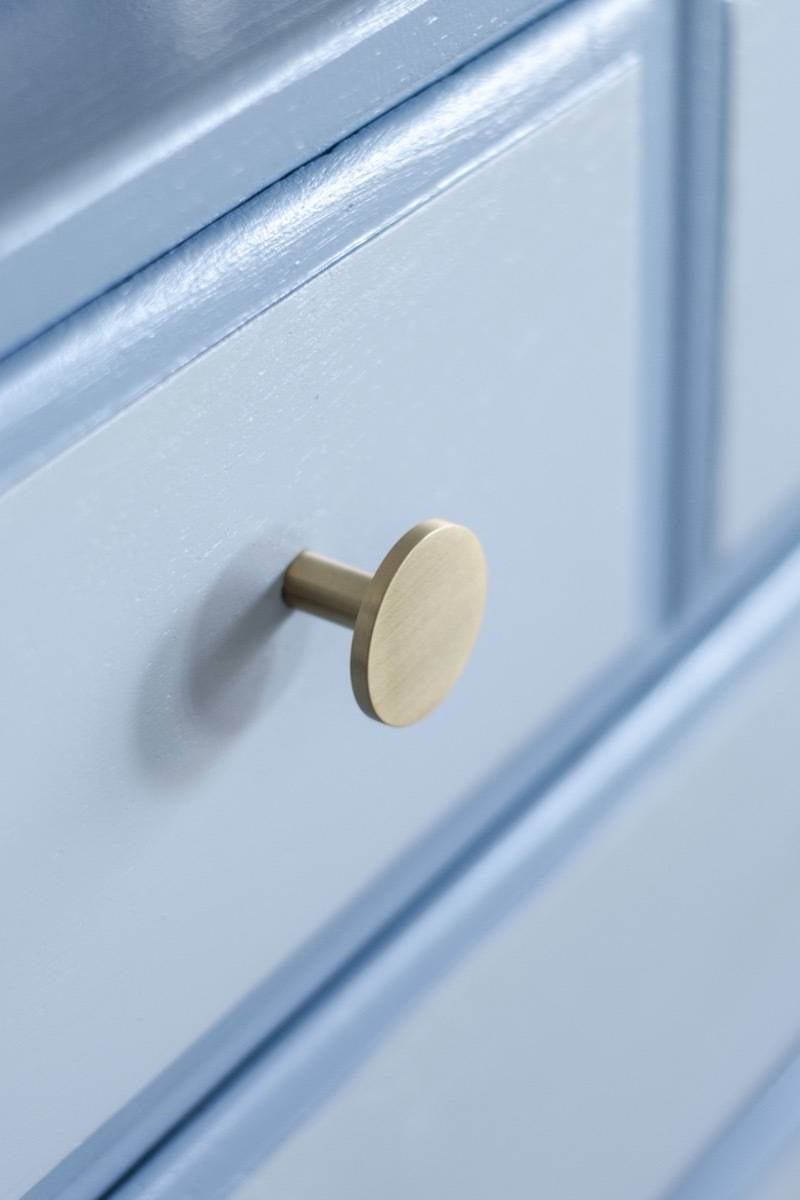
If you are interested in changing the expect of your hardware, pigment hardware with oil-rubbed paint, and allow dry out.
Pace
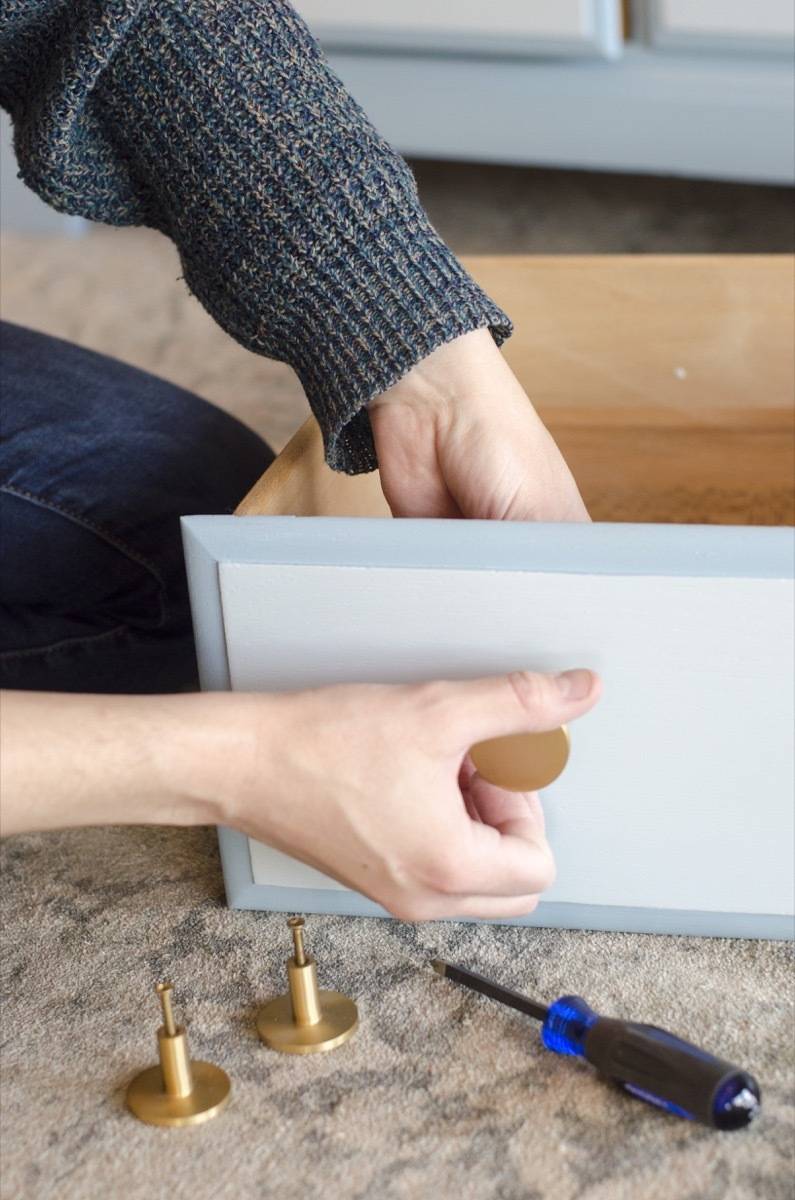
Reassemble your painted dresser, and reattach the hardware. Finally, stride dorsum and admire your work!
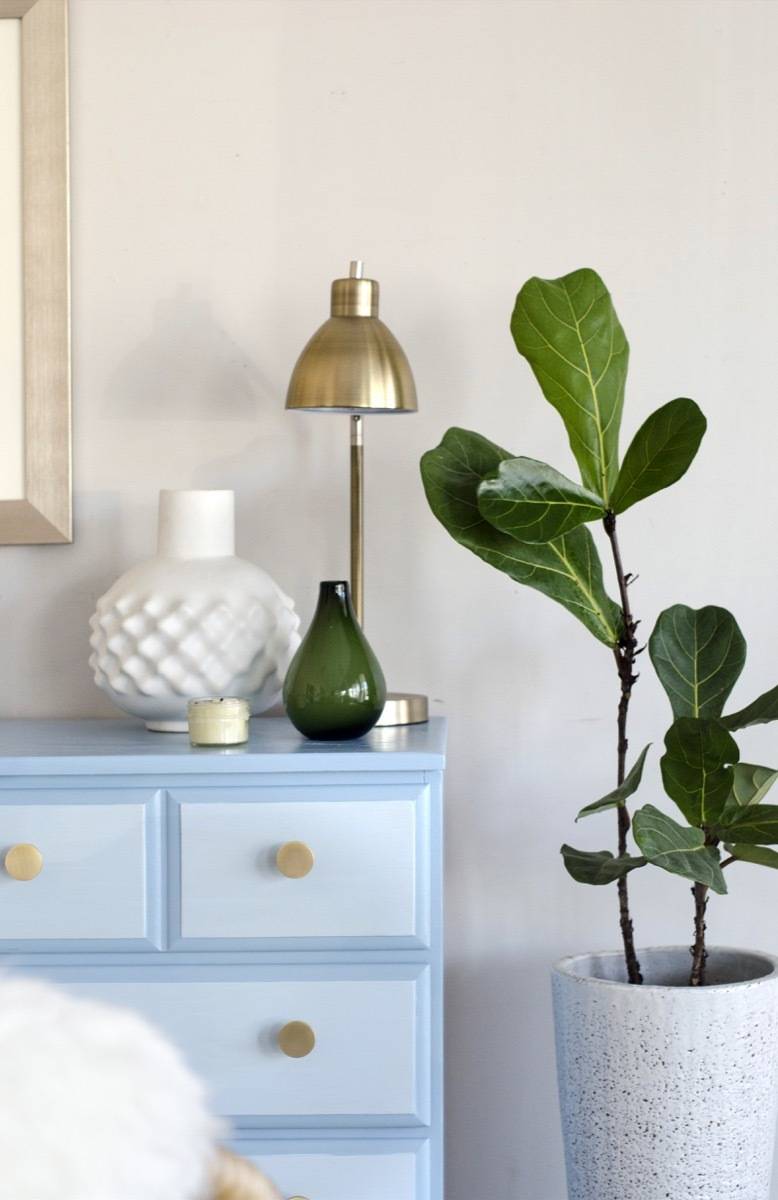

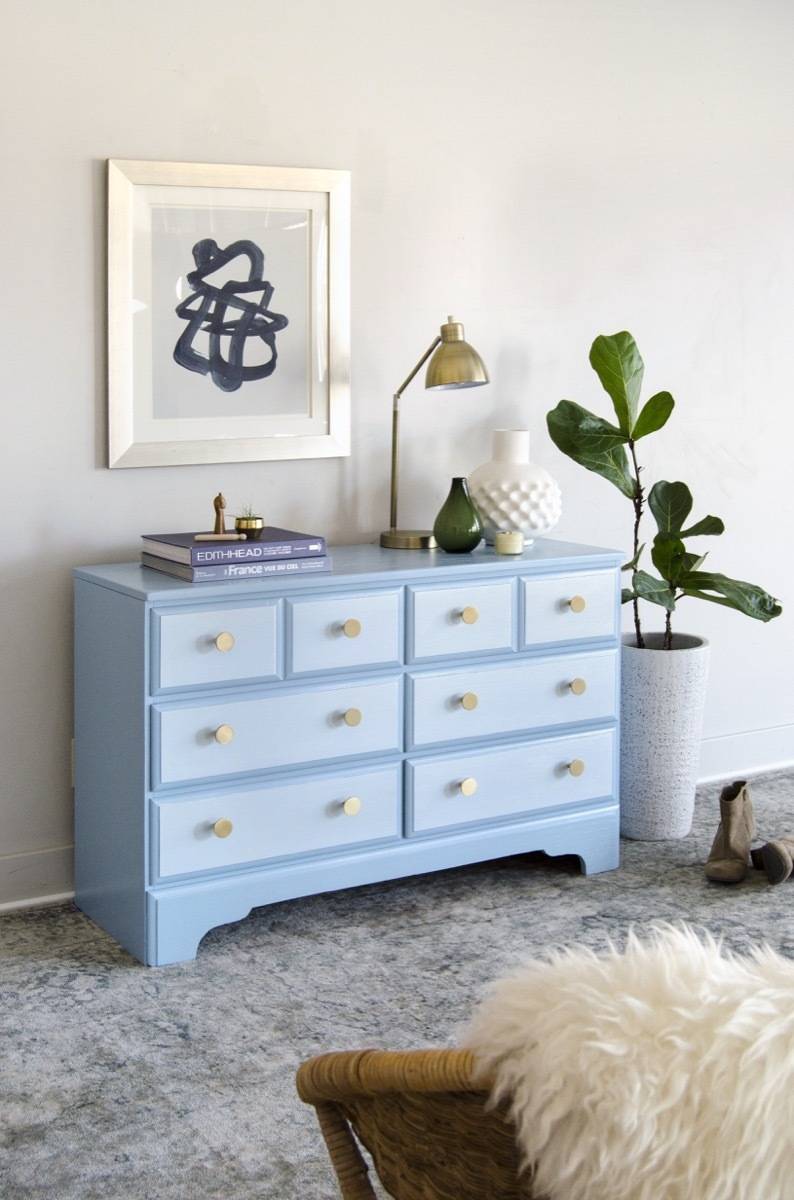
Now, when you know you did a thorough job, it makes all the hard work worth it. You'll exist able to adore that piece of furniture and if done right, it will wait good for decades!

Source: https://www.curbly.com/painted-dresser
Posted by: haagfichim.blogspot.com
0 Response to "How To Refinish A Dresser With Paint"
Post a Comment